Data Storage
Block Storage
Create a Volume
- Click on the Volumes tab under Manage Compute in the side bar. In the table on the right you see all the volumes created so far (if you have not created a volume yet, it will be empty).
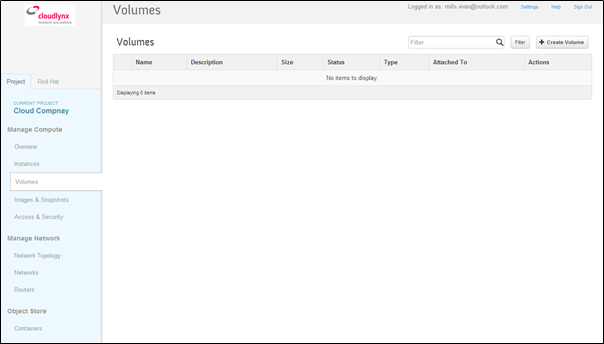
Click on the Create Volume button in the top right corner.
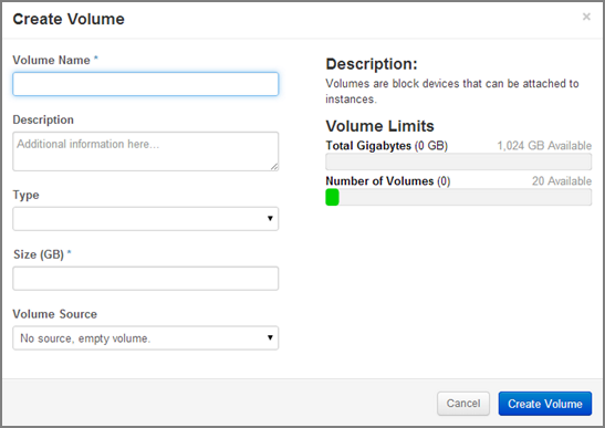
The Create Volume pop-up appears.
Volume Name – Add a suitable name for the volume in the box provided.
Description – Optionally, add a description for the volume.
Type – Leave the Type box blank (currently not supported).
Size (GB) – Specify the number of GB for the volume. Check the Volume Limits on the right side for the available amount of GB (Total Gigabytes bar).
Volume Source – Select the volume source.
- Selecting No source, empty volume creates an empty volume (like an unformatted physical hard drive).
Click the Create Volume button.
You can see the volume you created in the Volumes table list.
Note
The Volume Source options will not display the snapshot option if there are no existing snapshots in your project.
Note
If you choose No Source, empty volume it does not contain a file system or a partition table.
Attach a Volume to an Instance
Attach a Volume to an Instance in the Cloudlynx Dashboard
- Click Volumes under Manage Compute on the side bar.
- Find the volume you want to attach in the table on the right.
- Click the Edit Attachments button under Actions on the right hand side of the table.
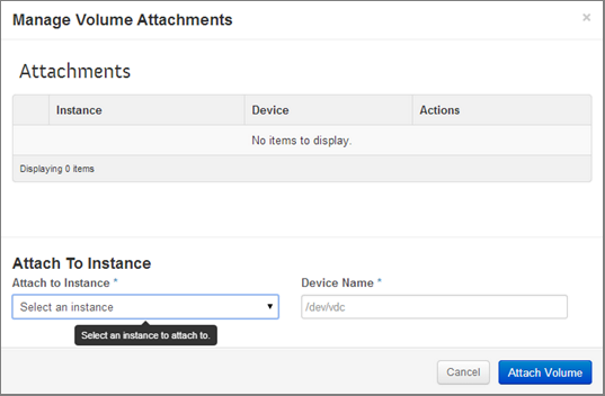
- A window appears (Manage Volume Attachments).
- From the Attach to Instance dropdown menu, select the instance to which the volume should be attached. An instance needs to be launched first before you can attach a volume. If there is no instance, the list will be empty.
- Under Device Name enter the name of the device.
- Click Attach Volume.
- In the Volumes table you can see the instance to which the volume has been attached.
Note
Several volumes can be attached to one instance. In Linux the device name should be in alphabetical order, e.g. the first volume is /dev/vdb, the second is /dev/vdc and so on.
Attach a Volume to a Linux Instance
Attaching a volume to a Linux instance involves three steps:
- Attach a volume to the instance in the Cloudlynx dashboard
- Initialise the volume
- Mount the volume in the instance
Initialize a Volume Attached in a Linux Instance
Caution
Any data that might be on the volume will be lost when initialising the volume. This step should therefore only be performed if the volume is empty, i.e. the first time a volume is attached to an instance.
Connect to the instance using SSH
List all attached block storage devices:
$ lsblk
Find the name of the attached block storage (e.g. /dev/vdc).
Create a partition on the block storage device
Create a file system on the device by giving in the following command (where <device> is the name of the attached block storage, e.g. /dev/vdc):
$ sudo mkfs.ext4 <device>
Note
The name of the attached block storage can be changed by the OS of the instance if the device name is already taken.
Mount a Volume on a Linux Instance
Create a directory under where the volume should be mounted by executing the following command, e.g.:
$ sudo mkdir –p /media/<volume name>
Mount the volume by executing the following command:
$ sudo mount <device> /media/<volume name>
Object Storage
Create a Container
- Select the Containers sub-menu item under the Object Store section on the side bar.
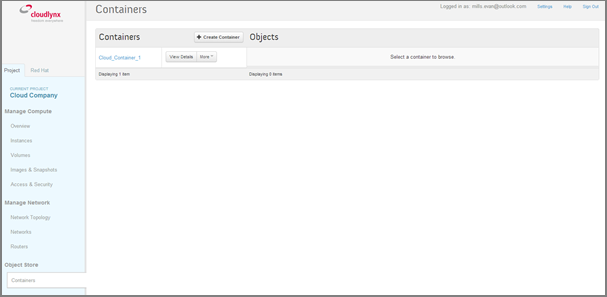
- In the table on the right hand side, all containers created so far are shown (if a container has not been created yet, it will be empty).
- Click on the Create Container button in the table. A Create Container pop-up window is displayed.
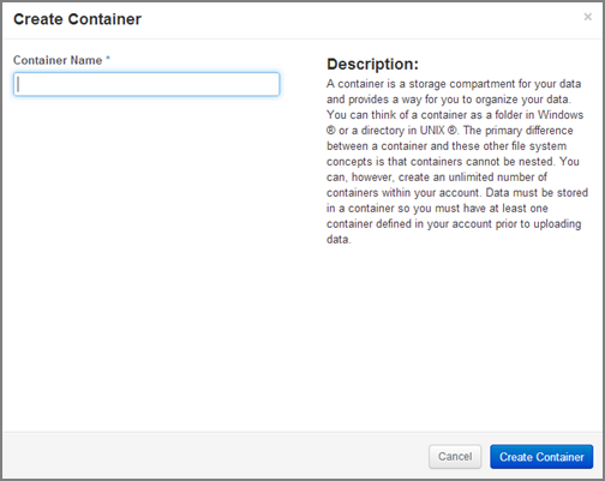
- Fill out the Container Name field to give the instance a unique name with which it can be identified.
Note
The names are case sensitive.
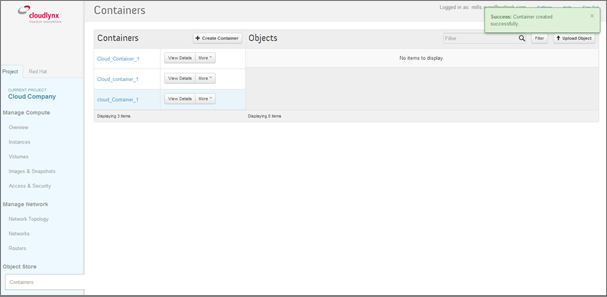
- Click on the Create Container button.
- The object store container created will be visible in the Containers table list.
Store Files in a Container
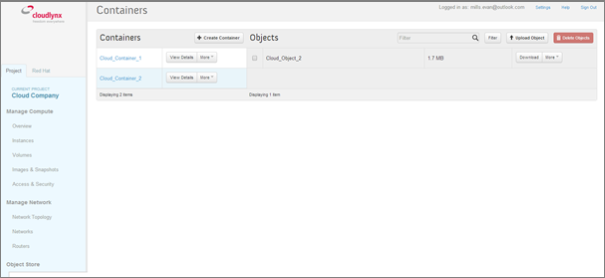
- Select the Containers sub-menu item under the Object Store section on the side bar.
- From the list of Containers, select the container where to upload the file.
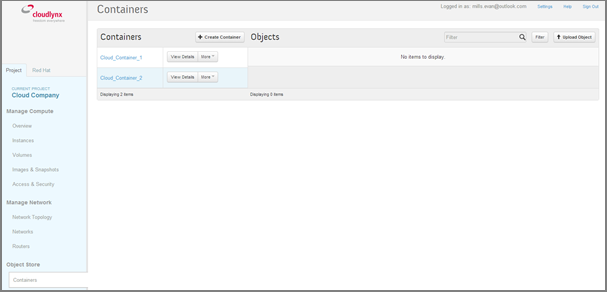
- Click on the Upload Object button on the right (If the button is not visible, click on the name of the container). The Upload Object to Container pop-up window is displayed.
- Fill out the Object Name field to give the instance a unique name to be identified with. This will be the name of the file under which it will be stored in the container.
- Select a file to be uploaded.
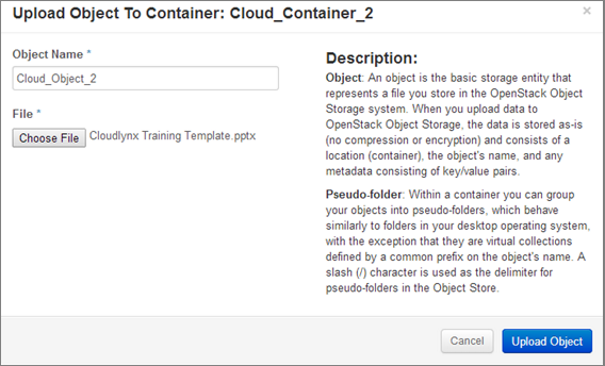
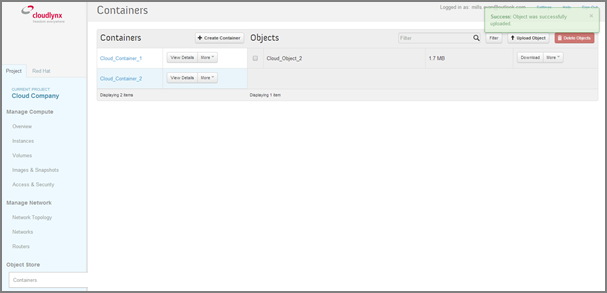
- Click on the Upload Object button to finalise the upload.
- The uploaded file will be visible in the table on the left hand side of the Containers page.
Retrieve Files from a Container
- Select the Containers sub-menu item under the Object Store section on the side bar.
- From the list of Containers, select the container from where to retrieve a file.
- Click on the Download button to the right of the file to be downloaded.
- The download starts, possibly after asking where to save the file.
Delete One File from a Container
- Select the Containers sub-menu item under the Object Store section on the side bar.
- From the list of Containers, select the container from where to delete the file.
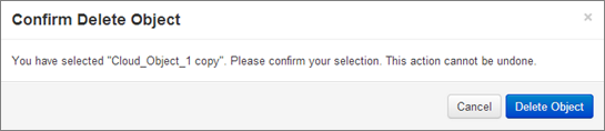
- Click on the Delete Object option from the More dropdown menu button to the right of the file to be deleted. The Confirm Delete Object pop-up window is displayed.
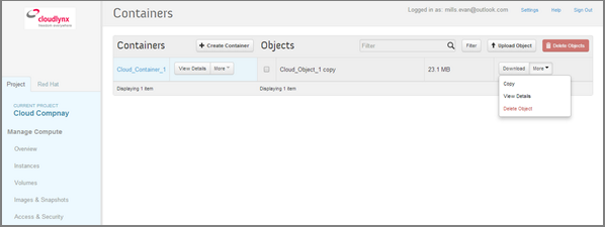
- Click on the Delete Object button to confirm the deletion.
Note
This action cannot be undone!